Sunday, December 8, 2013

And it's all done!

Just some final soldering/sewing.  I had some trouble getting everything to connect properly, but I de-soldered two wires and reconnected them in a more logical fashion, so that improved this greatly.  Here I'm sewing the SquareWear into the skirt, which was difficult to do without catching the outer chiffon layer (which I did a few times, prompting several restarts and some frustration).
SquareWear and battery placed, and all systems go!  I attached the battery with Velcro so that it can be replaced in the future but sewed down the wires connecting it to the SquareWear so that they wouldn't get in the way while dancing.
Lighting up red...
...and lighting up purple, at a different angle.
Time in the lab: ~2 hours
So excited to wear this for dance class tomorrow!  And for CS Week!  And for the final presentation on Thursday!

Saturday, December 7, 2013

Oh my God, it works...!

Just checking that everything I did yesterday still works.  Yes, I'm paranoid, but with very good reason! 
Challenge #1 of today: attach the tilt sensor to SquareWear so that it sticks out over the skirt ribbon in the back.
This proved to be a very difficult challenge.  I first experimented with some solder but found that it burned the SquareWear rather than attaching anything, so I remembered the hot glue gun and that worked pretty well.  Only major problem?  I attached the tilt sensor on the wrong way so had to rip it out before the glue dried too hard.  All's well that ends well, though, because the glue held nicely in the proper alignment.
Challenge #2: attach copper wire to GND, VCC, SCL, and SDA ports.
This was also pretty hard.  I had to strip the wires to the exact right length, else they would cross and mess up all the connections, something I'm a little too familiar with.  I ended up stripping a lot of excess wire to get everything to the right length.  Here's my first attempt at connecting to VCC (which proved to be the easiest).
Attaching to GND.  A bit tricky with making sure nothing crossed, but it worked out.
The final product!  I used some needle-nosed pliers to pull the tilt sensor legs away from one another and give space so that the copper wires wouldn't cross.  I then covered the unused legs with hot glue just to be safe.  I'm proud of the result: it doesn't look terribly messy.
Challenge #3: does it actually work?
I was absolutely terrified to hook everything up and turn on the power button.  For the sound-in project a few weeks ago, I had wired everything but, when I turned on the power, nothing worked.  So, basically, I was scared out of my wits at what would happen with this.  Holding my breath, I switched on SquareWear.  My heart basically fell through my feet when the lights didn't immediately turn on but, a fraction of a second later, everything was up and running and responding perfectly to the tilt sensor!  That split second was the time it took for the current to get running.  I nearly fainted with happiness!
Time spent in lab: 2 hours, 15 minutes

I can actually taste my skirt's completion.  I estimate another hour of work, maybe two, and then it will be done.  I only have to solder three connections and attach the SquareWear...!!!!!

Friday, December 6, 2013

Skirt construction

Lucky for me, the Neopixel strand comes with an adhesive backing, so I just peeled back the layer and stuck the lights directly on the skirt's lining; it seems to be sticking just fine, so I'm delighted that I don't have to use hot glue or sew it into place.  It's a real time-saver at this point!
It took me a really long time to figure out how to wire the D1 (D10 for SquareWear) connection.  I tried to use my thin jewelry wire, but, for some reason, the solder just wouldn't grab onto it.  Thicker wire worked pretty well, so I'm fine using that.  I put the electrical tape on the 5V and GND connections to make sure nothing crossed while I was testing.
...and speaking of testing!  I was petrified that things wouldn't work, so I decided to test the connection with just the D1/10 pin soldered on.  To my delight, everything works properly!
I finished off tonight's work by sewing the wire into place above the lights so that it wouldn't move around and disrupt the connection.  That surprisingly took a long time, but at least it's done now.  You can't even see the wire when the chiffon layer is pulled over it, so that's a plus.

I spent a bit over an hour in the lab tonight.  More work to come, but I'm almost there!

Thursday, December 5, 2013

MANY hours in the lab today...

...BUT THE LIGHTS WORK, AND I FIXED THE PROBLEM!!!!

After testing the lights with two SquareWears and two different tilt sensors, something weird was going on, especially since the code was written properly.  So, while I was testing the lights and becoming frustrated that they were responding erratically, I noticed that, if I wiggled the strand or pushed down on it in certain places, the lights would switch on and off.  This led me to think that there was maybe something wrong with the connections between each of the LEDs from one to the next.  Audrey suggested soldering one section together to see if that worked to stabilize the lights, and it did!  Ridiculously happy, I proceeded to spend an hour soldering about 110 connections with three strips per connection for a grand total of 300+ connections.  Even though I'm not going to be using the entire strand, I wanted to solder all the connections for the next person to use the lights.  I don't want them to have to spend time being confused as to why the lights were so unpredictable!

I tested the lights several times throughout this process to make sure that everything was still working properly, and I am relieved to say that I now have a consistent response from the strand.

Having finished that, it was time to make the skirt!  I decided to hand-sew the lining into the existing chiffon skirt, mostly because I couldn't figure out the sewing machine and didn't want to come back to the lab later.  I figured that it would be more efficient to use a method that I was familiar with, and it took less than an hour to sew everything in properly.  Unfortunately, when I tried it on, I discovered that the fabric for the lining doesn't stretch like the chiffon does, so I had to unpick a few stitches.  The main problem is that it's too long, so I'll cut the lining down to maybe an inch or so, just enough for the lights.  Tomorrow, I'm aiming to embed the technology and start testing!

The grand total of hours for this?  FIVE!  But it was worth every moment.  This was definitely the most satisfying work I've done on this project and, despite the long consecutive hours, I felt happy and productive and like I knew what I was doing.  I honestly didn't think I'd get to that point, but I have, and I am so proud!

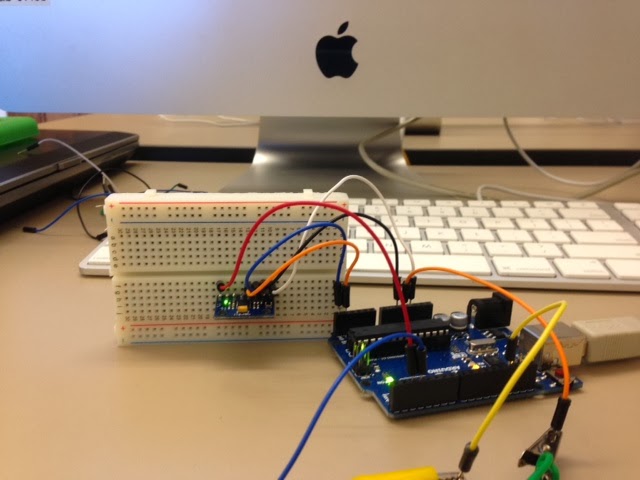
SquareWear testing with lights draped over a chair (out of view)

Soldering the connections.  Proud of the artsy photo :)  I definitely had some scary moments with this because, sometimes, the soldering iron would burn/melt the plastic coating or not pick up the solder properly.  All in all, no burns or injuries or bad connections, so I'd consider it a success!
Testing successfully after properly soldering connections!!
Sewn-in lining with taped-on lights.  Managed to poke myself with the needle too many times.  I'll be cutting down the lining length a bit so that I can actually wear the skirt without it puckering too much.

Wednesday, December 4, 2013

Week of 12/4/13

Lots of work happened in the two classes this week!

I've finally gotten to the point where I can start making the actual skirt, since I'm pretty confident that the lights will be working properly.  Audrey modified the code so that the rainbow cycle would change depending on the direction of the tilt of the wearer, and it looks so cool!  It worked just fine for me with Arduino but, when I tried to switch over to SquareWear today, the lights started flashing and acting up.  I cut off the first line in the string because it had died (?), but it still was reacting strangely to the tilt sensor: it either didn't light up or reacted properly for a few moments, then got stuck on either red or green.  I wonder why it would default to those colors.

In terms of actually making the skirt, I will definitely be all finished by Sunday.  I've cut the under-layer down to size (mostly) and attaching the LEDs really shouldn't be too tricky.  The only challenging part is running a wire from one side to the other so that I don't have to cut the strand apart.  Then, I'll make a small compartment for the SquareWear with an opening for the on/off switch.  And then I'll be done!  I'm hoping to wear the skirt to dance class on Monday and for CS week.

Monday, November 25, 2013

The code works!!!

Five minutes at TA hours, and the code for the lights responding to the tilt sensor works!!!  I am so unbelievably happy!  I can't get the video to upload, but I'm so proud of it.

11/25/13: Class and office hours

THE TILT SENSOR IS FINALLY WORKING!!  The new code prints out logical values for the x and y axes that change in a predictable and understandable manner.  Unlike the raw data, this is useable and finally makes sense to me.

I only need to worry about two axes now (x and y) and can disregard z, since the new code doesn't recognize any motion in the z direction.  My short-term goal is have one strand of LEDs respond to tilt in the x direction and light up a different color depending on if the motion is in the negative or positive direction.  I will then code for another strand of lights to respond for the y axis.  To do this, I am transferring my Neopixel code from the raw-tilt-sensor-and-Neopixel-strand-combined code.  I've successfully compiled the sketch for just the x-direction, but the LEDs aren't reacting.  However, I feel optimistic that this isn't a huge problem to solve.  I have to go to other appointments now but will return for an hour or so tonight to try to finish this up before I leave for break.

New orientation of tilt sensor and Arduino
The beginnings of new combined code